2. 创建前端 TUI 项目
在后端 Rust 项目建好之后,我们接下来创建前端的项目。目前大部分的 Coding Agent 的形式都是命令行 CLI,市面上最著名的命令行 TUI (Terminal UI) 方案就是 Ink。
Ink 介绍
Ink 是一个用 React 写命令行界面的框架。它把终端里的输入框、列表、状态栏、流式输出等都抽象成组件,让我们可以用熟悉的 React state 和 hooks 组织 TUI,而不是手动拼接 ANSI 字符串。
很多 Coding Agent 都选择了类似的路线,例如 Claude Code、OpenAI Codex CLI、Google Gemini CLI 等。它们都需要在终端里展示对话、工具调用、diff、审批和执行进度,Ink 很适合快速搭建这种交互密集的 CLI 界面。
在 KQode 里,Ink 只负责前端 TUI。真正的 Agent Loop、工具执行、会话记录和策略控制仍然放在 Rust 核心里,这样以后也可以替换成其他 UI。
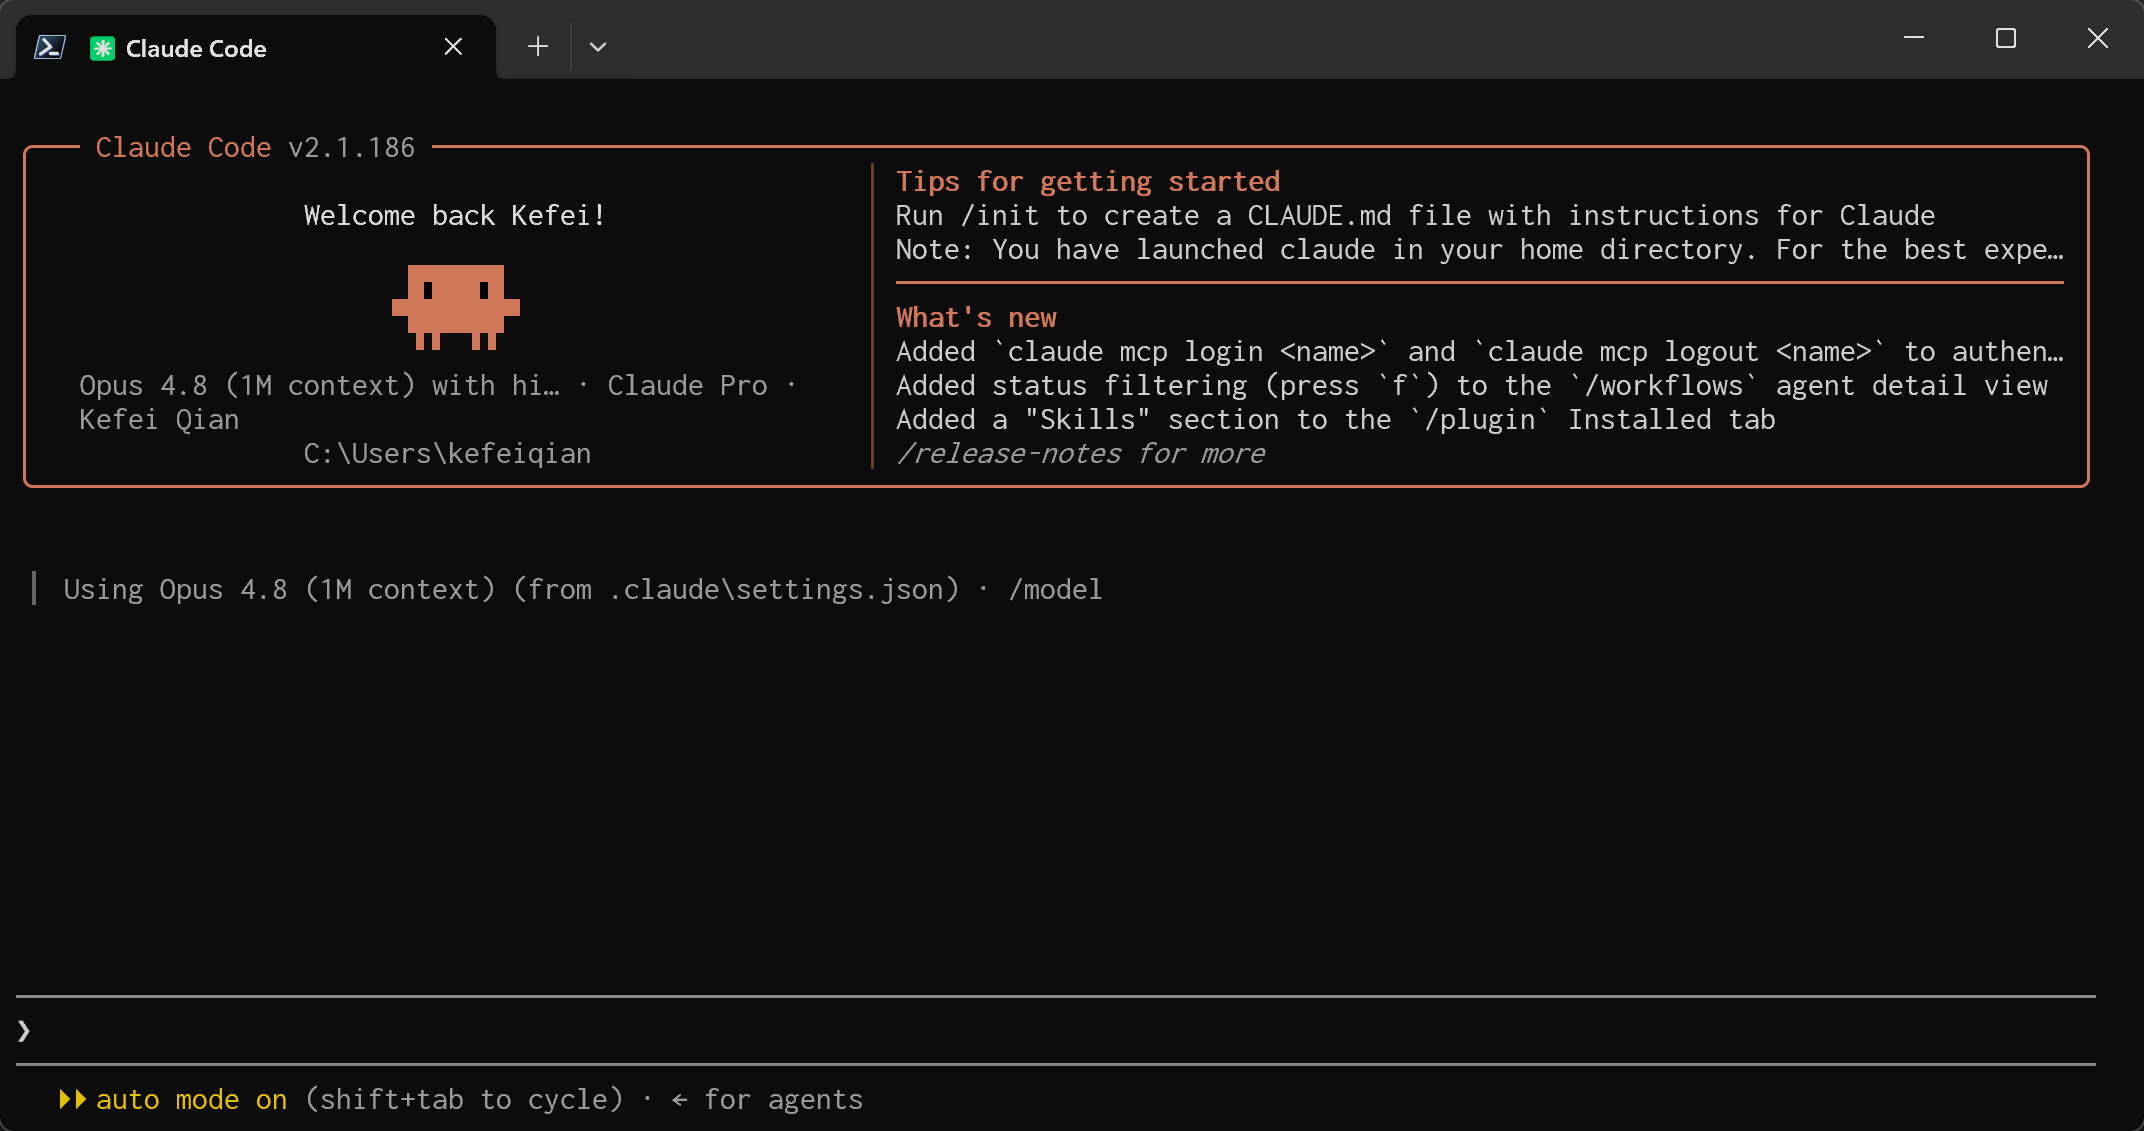
Claude Code 界面截图:
创建 Ink 项目
KQode 的前端 TUI 放在仓库里的 tui/ 目录下,和 Rust 后端保持独立。
这一轮创建出来的 TUI 还不是完整的 Coding Agent,只是先搭好一个可以运行、可以测试、可以继续扩展的最小前端壳子。它包含:
- 一个基于 Ink + React 的终端应用入口。
- 一个简单的
App组件,展示产品版本、当前工作目录和预览提示。 - 读取仓库版本号和当前工作目录的运行时 helper。
- TypeScript、Vitest 和 Ink 组件测试配置。
初始化 TUI package
前端项目的依赖和脚本写在 tui/package.json 里:
{
  "name": "@kqode/tui",
  "version": "0.1.0",
  "private": true,
  "type": "module",
  "packageManager": "bun@1.3.12",
  "engines": {
    "node": ">=24.0.0",
    "bun": ">=1.3.0"
  },
  "scripts": {
    "dev": "tsx main.tsx",
    "typecheck": "tsc --noEmit",
    "test": "vitest run"
  },
  "dependencies": {
    "ink": "^7.1.0",
    "react": "^19.2.7"
  }
}
这里选择 Bun 管理依赖,用 tsx 直接运行 TypeScript 入口。依赖里最核心的是:
ink:把 React 组件渲染到终端。react:继续使用熟悉的组件模型和 hooks。vitest和ink-testing-library:测试终端组件输出。
项目创建完成后,安装依赖:
cd tui
bun install
在 KQode 仓库里,后续更推荐通过 xtask 入口 执行:
cargo xtask tui-install
这样文档、IDE 和 CI 都可以复用同一条命令路径。
配置 TypeScript
TUI 使用严格 TypeScript 配置。tui/tsconfig.json 里开启了 strict、isolatedModules 和 verbatimModuleSyntax:
{
  "compilerOptions": {
    "target": "ES2022",
    "module": "NodeNext",
    "moduleResolution": "NodeNext",
    "jsx": "react-jsx",
    "strict": true,
    "isolatedModules": true,
    "verbatimModuleSyntax": true,
    "noEmit": true,
    "esModuleInterop": true,
    "forceConsistentCasingInFileNames": true,
    "skipLibCheck": true,
    "types": ["node", "vitest/globals"]
  }
}
Vitest 配置也很轻量,tui/vitest.config.ts 只指定测试环境为 Node:
import { defineConfig } from 'vitest/config';

export default defineConfig({
  test: {
    environment: 'node'
  }
});
创建 Ink 入口
TUI 的运行入口是 tui/main.tsx。它负责读取运行时信息,然后把这些信息传给 React 应用:
import path from 'node:path';
import { fileURLToPath } from 'node:url';
import { render } from 'ink';
import { App } from './src/App.js';
import { resolveRepoRoot, resolveWorkspaceCwd } from './src/libs/path/runtimePaths.js';
import { readProductVersion } from './src/libs/product/productMetadata.js';

const tuiPackageRoot = path.dirname(fileURLToPath(import.meta.url));
const repoRoot = resolveRepoRoot(tuiPackageRoot);
const workspaceCwd = resolveWorkspaceCwd();
const productVersion = readProductVersion(repoRoot);

render(<App productVersion={productVersion} workspaceCwd={workspaceCwd} />);
这里有一个重要边界:main.tsx 只负责收集运行时元信息和启动 Ink,不负责具体界面布局。真正的界面从 tui/src/App.tsx 开始:
import { Box, Text } from 'ink';

export type AppProps = {
  productVersion: string;
  workspaceCwd: string;
};

export function App({ productVersion, workspaceCwd }: AppProps) {
  return (
    <Box flexDirection="column">
      <Text color="cyan">KQode {productVersion}</Text>
      <Text color="gray">Workspace: {workspaceCwd}</Text>
      <Text>Preview mode: local Rust backend only.</Text>
    </Box>
  );
}
这里先把界面做得足够简单:证明 Ink 能正常渲染 KQode 的基本信息,并为继续扩展成真正的 Coding Agent TUI 留出空间。
读取运行时信息
为了让 TUI 不依赖硬编码路径,项目里先加了两个很小的 runtime helper。tui/src/libs/path/runtimePaths.ts 负责解析仓库根目录和当前工作目录:
import path from 'node:path';

export function resolveRepoRoot(tuiPackageRoot: string): string {
  return path.normalize(path.resolve(tuiPackageRoot, '..'));
}

export function resolveWorkspaceCwd(cwd = process.cwd()): string {
  return path.normalize(cwd);
}
tui/src/libs/product/productMetadata.ts 则从根目录 Cargo.toml 读取 KQode 版本号。这样 TUI 展示的版本来自 Rust 项目本身,而不是前端单独维护一份。
运行和验证
开发时可以直接在 tui/ 目录运行:
bun run dev
bun run typecheck
bun run test
但在 KQode 仓库里,更推荐使用 Cargo-facing 的 xtask 命令:
cargo xtask tui-dev
cargo xtask tui-typecheck
cargo xtask tui-test
tui-dev 的 Rust 侧入口在 xtask/src/commands/tui/dev.rs。它会先确认有可运行的 workspace,再确保 TUI 依赖存在,最后通过 tsx 启动 tui/main.tsx。
测试方面,TUI 使用 ink-testing-library 渲染组件并断言终端输出。例如 tui/src/__tests__/App.test.tsx 会检查产品名、版本、工作目录和 backend-only 预览提示:
expect(output).toContain('KQode 0.1.0');
expect(output).toContain(`Workspace: ${workspaceCwd}`);
expect(output).toContain('Preview mode: local Rust backend only.');
准备 dummy workspace
Coding Agent 的 TUI 不应该只在自己的 tui/ package 目录里运行。真实使用时,KQode 面对的是用户当前打开的项目目录,所以 workspaceCwd 从一开始就要按“被操作的项目”来理解。
为了验证这个语义,U1 里加入了一个很小的 dummy React 项目:tests/fixtures/dummy-react-app/。它的 package.json 看起来像一个普通 Vite React app:
{
  "name": "dummy-react-app",
  "version": "0.0.0",
  "private": true,
  "type": "module",
  "packageManager": "bun@1.3.12",
  "scripts": {
    "dev": "vite",
    "build": "vite build",
    "preview": "vite preview"
  }
}
这个 fixture 不是直接拿来修改的工作目录,而是一个只读种子。xtask 会把它复制到 target/kqode-test-workspaces/workspace/ 下面,再从复制出来的 workspace 启动 TUI。这样既能让界面看到一个真实项目路径,又不会污染 checked-in fixture。
对应的准备命令注册在 xtask/src/commands/fixture/mod.rs:
pub const PREPARE_REACT_SIMPLE: CommandSpec = CommandSpec {
    name: "fixture-prepare-react-simple",
    description: "Reset workspace from the committed simple React fixture",
    run: prepare_react_simple::run,
};
tui-dev 会在 workspace 缺失时提示选择 fixture。选择完成后,它再从 workspace 目录启动 tsx,让 TUI 里的 workspaceCwd 指向被复制出来的项目目录,而不是 tui/ 自己。
搭建前端测试框架
TUI 的测试框架由 Vitest 和 ink-testing-library 组成。tui/package.json 里有两个关键脚本:
{
  "scripts": {
    "typecheck": "tsc --noEmit",
    "test": "vitest run"
  }
}
tui/vitest.config.ts 先保持最小配置,只指定 Node 测试环境:
import { defineConfig } from 'vitest/config';

export default defineConfig({
  test: {
    environment: 'node'
  }
});
组件测试的核心是:把 Ink 组件渲染成终端 frame,然后断言输出文本。App.test.tsx 里的 smoke test 就是这样写的:
const { lastFrame } = render(<App productVersion="0.1.0" workspaceCwd={workspaceCwd} />);

const output = lastFrame();

expect(output).toContain('KQode 0.1.0');
expect(output).toContain(`Workspace: ${workspaceCwd}`);
expect(output).toContain('Preview mode: local Rust backend only.');
除了组件输出,U1 还测试了路径 helper。tui/src/__tests__/runtimePaths.test.ts 验证 repoRoot 可以从 tuiPackageRoot 推导出来,workspaceCwd 会被正常 normalize:
expect(resolveRepoRoot(tuiRoot)).toBe(path.normalize(repoRoot));
expect(resolveWorkspaceCwd(workspace)).toBe(path.normalize(workspace));
这样测试覆盖了两个最早需要稳定下来的边界:一个是用户看见的终端输出,一个是 TUI 启动时理解的仓库和 workspace 路径。
最后,再通过 xtask 把这些测试入口暴露到仓库根目录。xtask/src/commands/tui/typecheck.rs 调用 bun run typecheck,xtask/src/commands/tui/test.rs 调用 bun run test。后续写 TUI 功能时,就可以从仓库根目录统一运行:
cargo xtask tui-typecheck
cargo xtask tui-test
运行截图
一切就绪后,运行截图如下:
